7 STEPS TO AN EFFECTIVE CLEANING & DISINFECTING PROGRAM
Preston Rives, CID LINES, North American Sales Manager.
I get a lot of questions asking what an effective cleaning and disinfection program looks like. The first thing is that every disinfection program must work for your individual farm and meet your specific needs. Even though a program should be specific to your needs, there are several basic steps that any program should cover.
 STEP 1
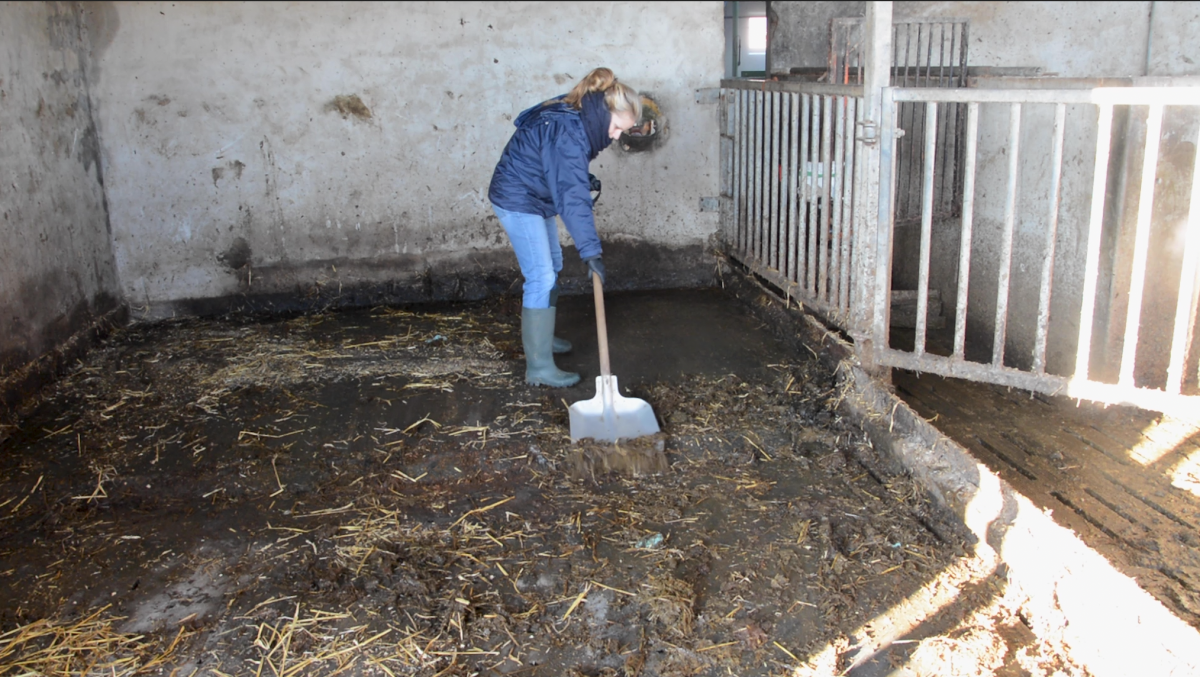
The first step of any program would be to remove as much organic material as possible. This can also be commonly referred to as a “dry cleaning” which would include removing as much manure, dust, or any other types of organic material that are present in poultry and swine buildings. This step is key before applying any cleaning products in the building.
STEP 2
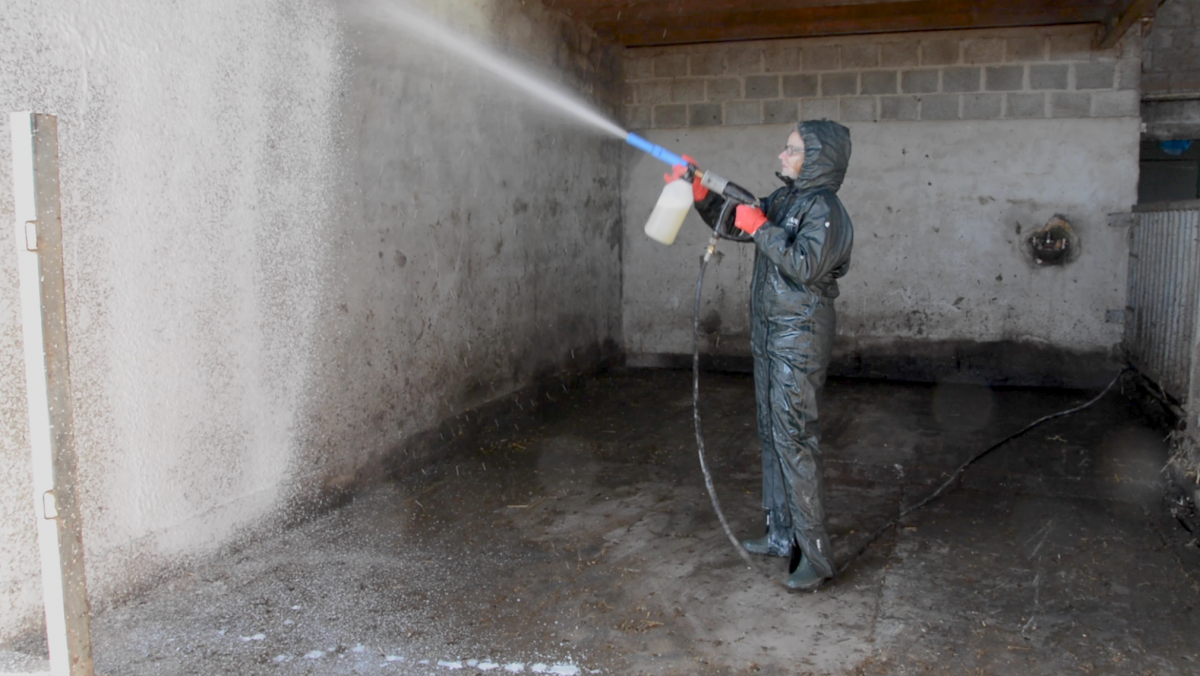
Step two for a C&D program would be applying a detergent that has a top-quality foam. There are several factors to consider when choosing a detergent for your application. The first factor for consideration would be if you need an alkaline or acid detergent. Alkaline detergents are for organic material removal and acids are for removal of scale or mineral deposits. The second factor to consider would be foam quality. You need a detergent that sticks well so you will have contact time which allows the detergent to break down any remaining scale or organic material. Recommended contact time for most CID Lines detergents is 20 minutes but do not let the detergent dry on the surface. The third factor to consider when choosing your detergent is dilution rate, always calculate your diluted cost of each product. The fourth factor to consider is if the product is safe for the surfaces to which it is being applied. Never use a chlorinated product on aluminum and avoid acid-based products on soft metals such as copper or brass. In hatchery settings, acid detergents are used on copper cooling coils, but they should be the last area where detergent is applied and the first to be rinsed so that contact time is limited on these types of surfaces.
 STEP 3
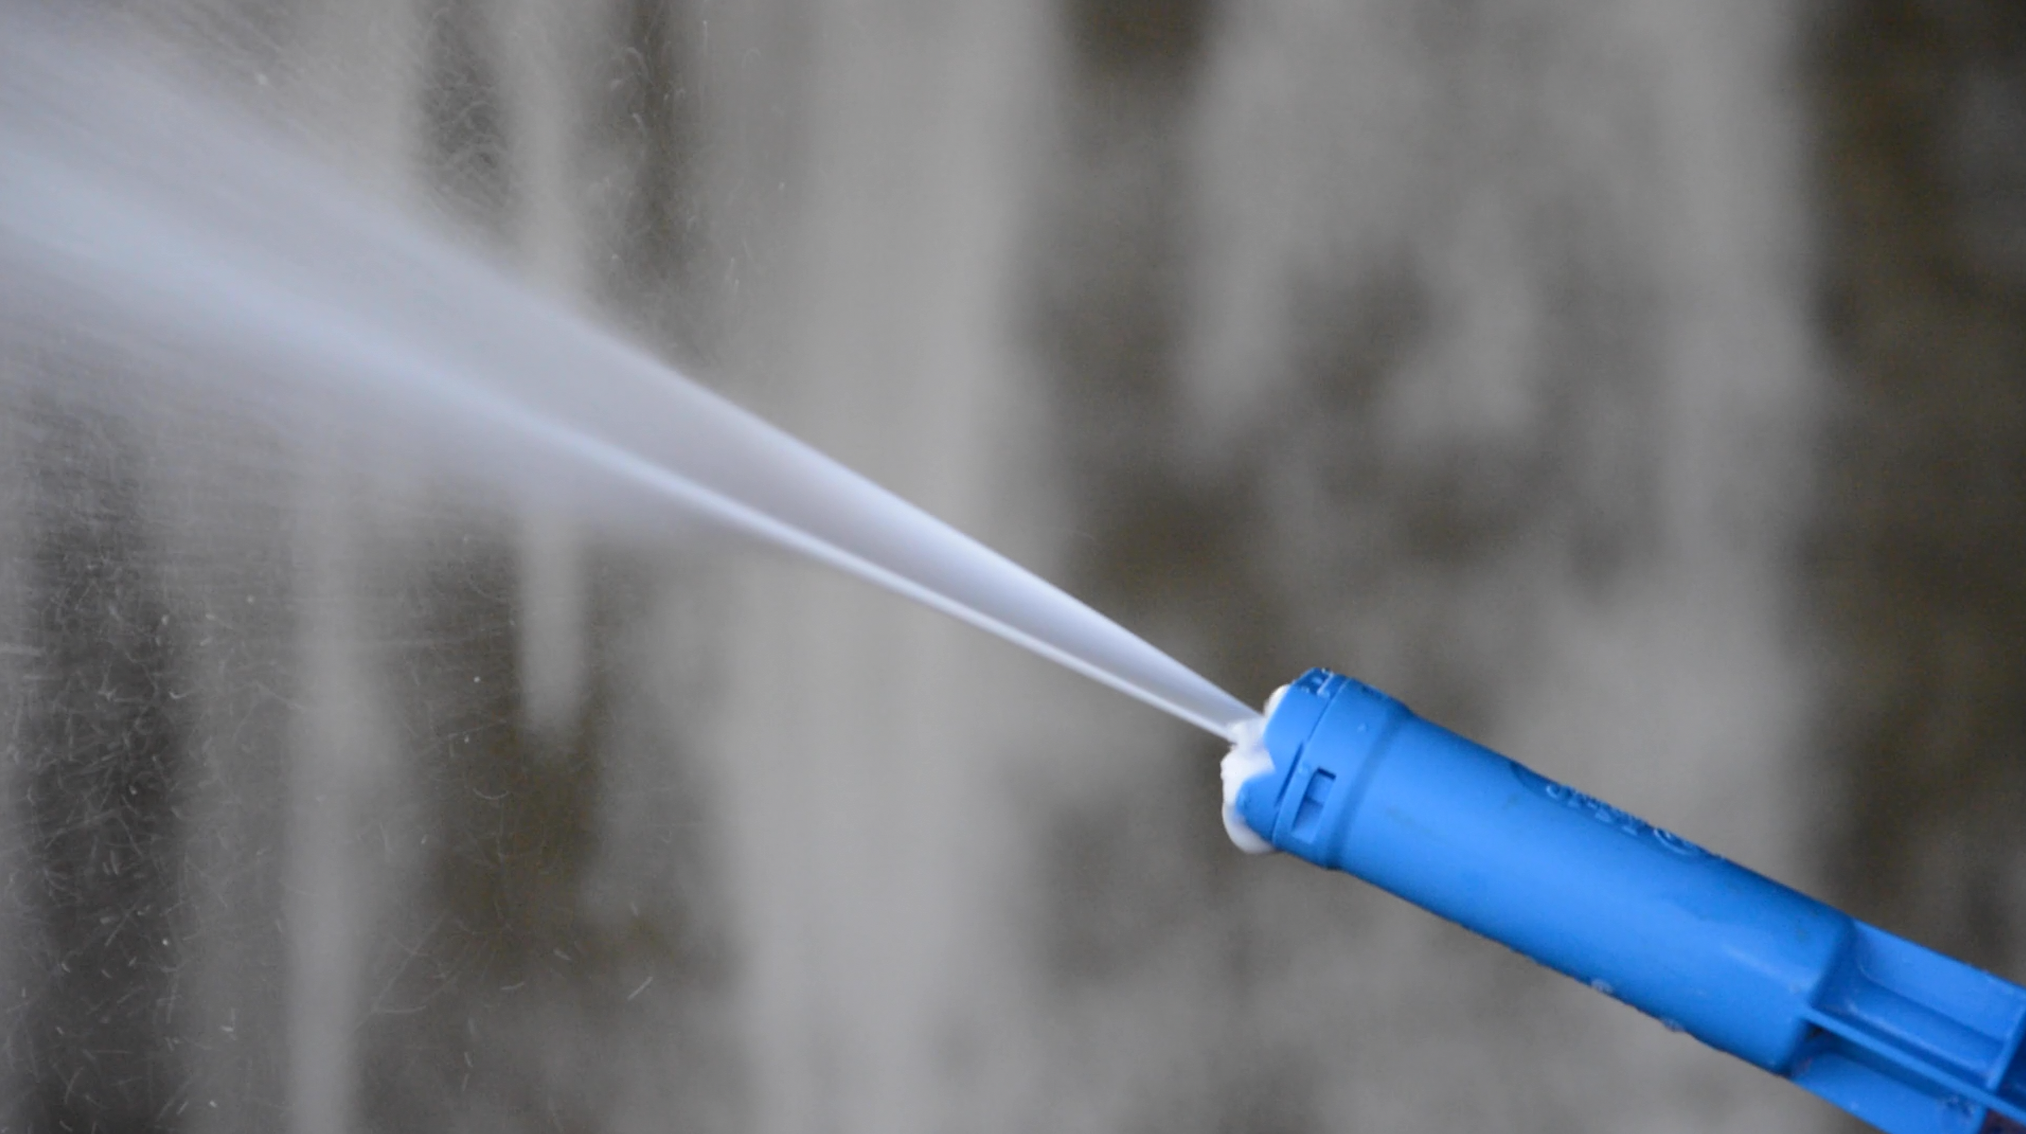
Step three for your program would be to rinse the detergent and any organic material away with high pressure water. The key here is to make sure you do reach all surfaces and to wash in a manner that any material being removed is pushed towards an area of the building that is yet to be washed. Avoid any sensitive equipment (lights, switches, heaters, etc.), but these still need to be washed by hand to avoid damage. Detergents are key to help break down organic material and mineral deposits which harbor bacteria. This allows for quicker rinse times and less water usage compared to just high-pressure water alone. Removing as much of the organic material is a key factor in how well your disinfectant will work in the next steps.
STEP 4
Step four is to let the surfaces dry completely before applying any disinfectant to avoid dilution of your disinfectant. Doing a quick calculation, 1 mm of water covering 40 square feet of surface would be just under 1 gallon of water. When you consider that many of today’s poultry buildings are 20,000 square feet or larger this could be a potential of 500 gallons of extra water on the floor with only 1 mm of water.
STEP 5
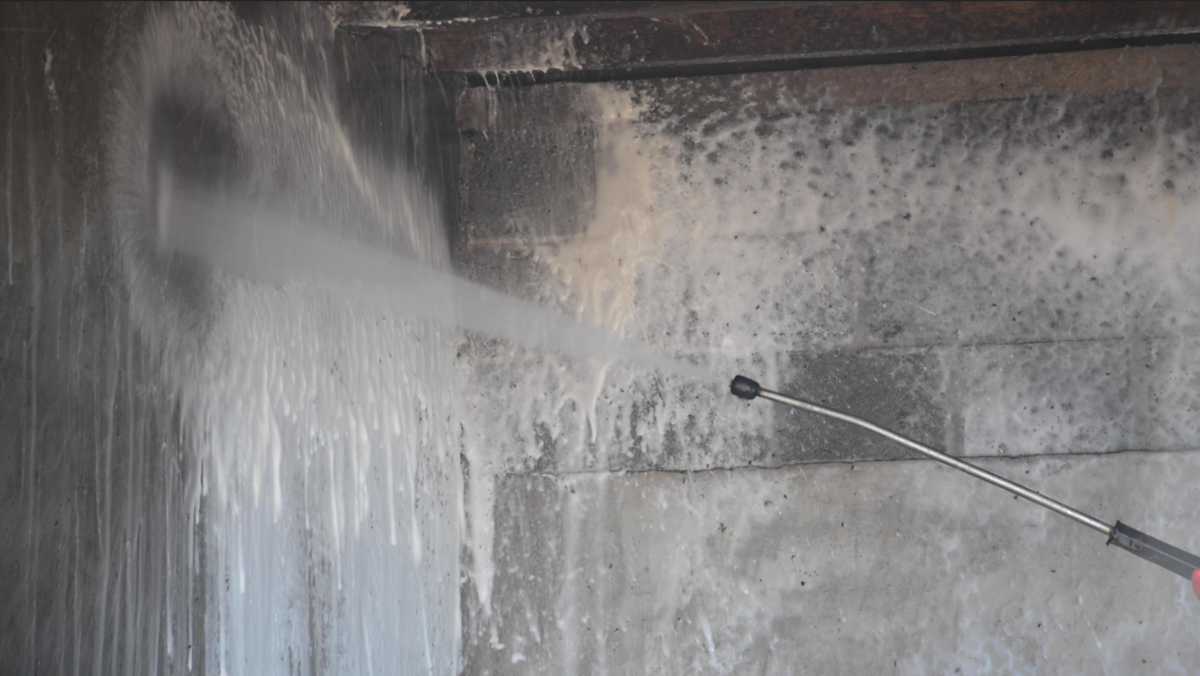
Step five of your program would be applying a disinfectant to all surfaces. I highly recommend using foam to apply the disinfectant for two reasons: visibility and contact time. Disinfectant label claims in the US are regulated by the EPA which uses the AOAC protocol for testing the claims. In this protocol any claims against specific pathogens require a 10-minute contact time. Foam clings to all surfaces which helps you achieve these 10 minutes of contact time. When choosing a disinfectant, it is also important to consider several other factors: label claims, dilution, and safety are just a few to consider. Label claims are very important so that you know, when used properly your disinfectant of chose will work against the specific targeted pathogens. One good place to start with a disinfectant is to see if it is labeled as “broad spectrum.” This means that it is effective against virus, bacteria, and fungi. Also check for individual pathogen tests if you have a specific challenge you are up against. Dilution is also extremely important when making your choice of disinfectant. You must use a disinfectant at the proper dilution for your specific pathogen or at the general labeled rate for a wide variety of pathogens. Avoiding a situation where you have wet surfaces like in step four is key to making sure your disinfectant performs properly. Safety for people and equipment is also important when making your disinfectant choice. Always follow recommended safety equipment that is detailed in the SDS to ensure safety of people when handling these or any other product. Equipment is a large capital investment for any customer and your choice of disinfectant should not have adverse effects to any of this equipment. Corrosion can be an issue with certain types of disinfectants with a low or very high pH.
STEP 6
Step six is to let the disinfectant dry completely before bringing animals or animal feed into any facility. This will avoid any residues being in contact with animals or animals ingesting feed and water that contains a disinfectant.
STEP 7
Step seven is to sample surfaces throughout a building to check for the efficacy of your cleaning and disinfection program. Sampling should always be done after cleaning and disinfection has been fully completed. This step is key to determining how well your program is working and if you have any areas that may need extra attention. Without performing this step, there is no way to measure or quantify any improvements made over time with your program.
With these seven basic steps you can build an effective cleaning and disinfection program that works for your facility and provides your animals the cleanest possible environment to thrive.